What is Index API?
Index API is a Google Cloud service that enables web developers and site owners to quickly add their web pages to Google’s search index. The Index API is specifically designed for new or updated content to be quickly discovered and indexed by search engines. This allows your website’s up-to-date content to appear faster in search results.
What Does Index API Do?
The main purpose of the Index API is to ensure that new or updated content on your website is quickly indexed by the Google search engine. Normally, it can take time for a web page to be naturally indexed by search engines. The Index API speeds up this process, allowing your content to be discovered and ranked faster by search engines. This is especially important for news sites, blogs and e-commerce platforms that update content frequently.
What are the Advantages of Index API?
- Fast Indexing: The Index API allows web pages to be indexed quickly by Google, which leads to your content appearing in search results more quickly.
- Prominence of Updated Content: Quick indexing of new or updated content increases the timeliness and relevance of your site.
- Improved SEO Performance: Faster indexing contributes to improved SEO performance. Fast indexing of updated and relevant content helps you reach higher positions in search rankings.
- Improving User Experience: Your visitors can quickly access the most up-to-date information on your site. This improves the user experience and increases trust in the site.
- Effective Content Management: Index API makes your content management process more efficient. There is no need to manually track new content or updates.
Index API Setup
The Index API is a tool provided by Google that allows web pages to be quickly added to the Google search index. This is especially important for new or frequently updated content. Let’s take a step-by-step look at how to set up this powerful tool. We explain the step-by-step process of setting up the Index API via Google Cloud and Google Search Console. Starting from creating an account on Google Cloud, enabling the Indexing API, managing service accounts and generating the required JSON key, we cover each step in detail. It is explained in a way that anyone can easily implement, regardless of your technical knowledge. Follow these steps to speed up your indexing process and make your website more visible in search engines. Let’s embark on this journey together and take your SEO performance to the next level!
Create an Account and Start a Project in Google Cloud
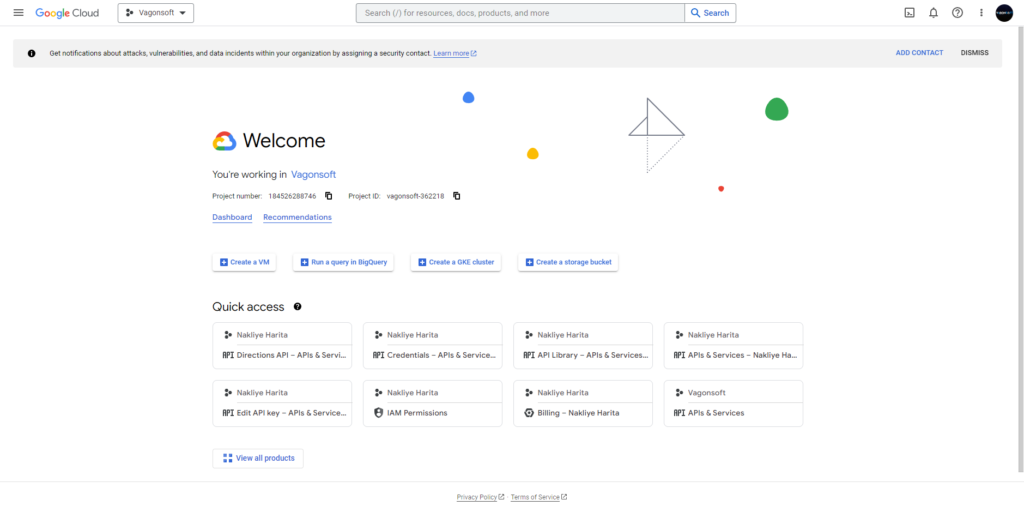
Go to the Google Cloud website and create an account.
After logging in to your account, start a new project with the Create Project option on the home page.
Enable APIs
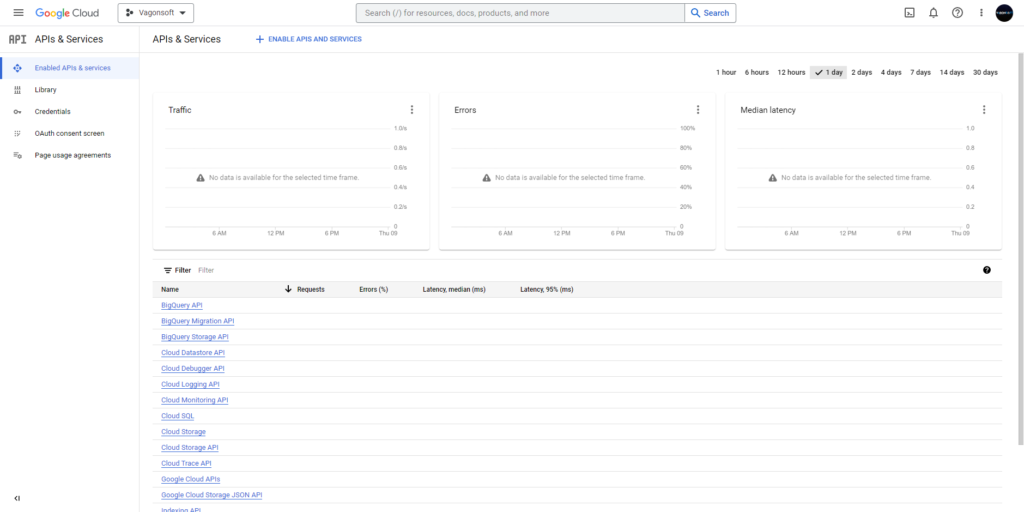
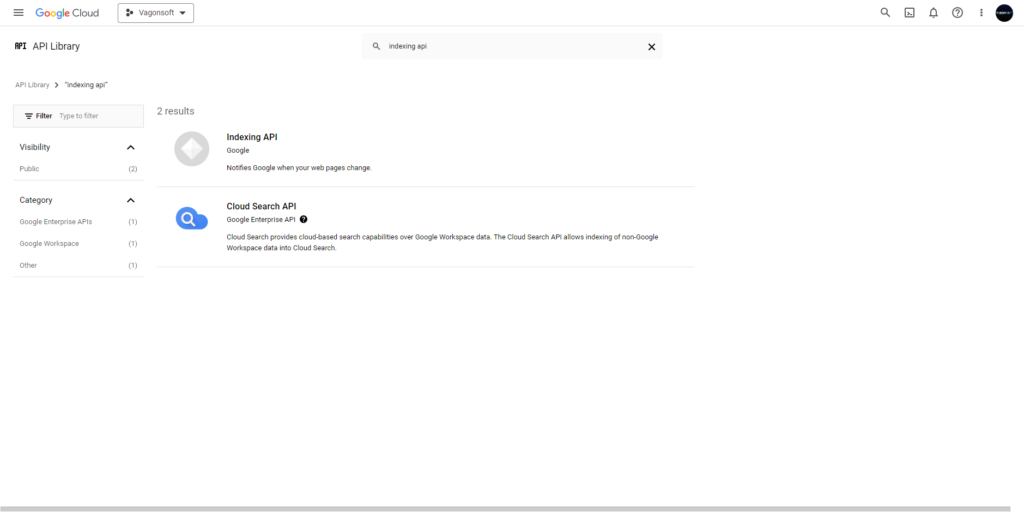
Click on “APIs & Services” in the left menu, click on “Enabled APIs & Service” in the second menu and start enabling the services in the “ENABLE APIS AND SERVICES” section.
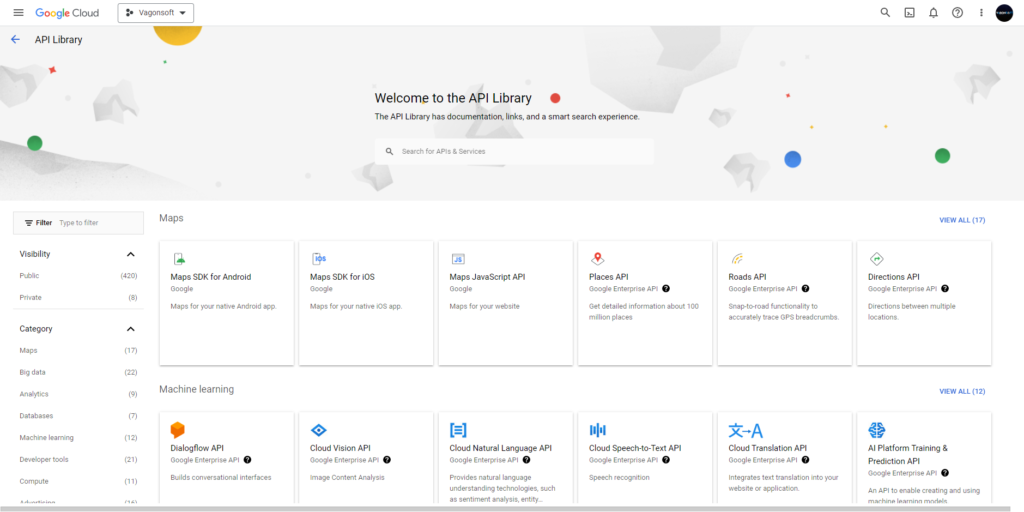
Find and enable the Indexing API by searching for “Web Search Indexing API” in the Search tab.
Creating a Service Account
Go to “IAM & Admin > Service Accounts” from the left menu.

Create a new service account by clicking on “CREATE SERVICE ACCOUNT“.

Fill in the account details and complete the process by selecting the “owner” role.
Google Search Console ile Entegrasyon

Copy the email address of the service account you created. Do not close the Google Cloud section during this process. Log in to Google Search Console and select your website property. Go to the “Users and Permissions” section in the Settings section and add the e-mail address you copied. (Sometimes you may get a mail not found error. Wait 1-2 minutes on average.)
JSON Key Generation
In Google Cloud, click on the vertical ellipsis next to the service account details and select “Manage Key“.

Generate a JSON key with the “ADD KEY” option and download it to your computer.
Required Software and Files
Click here to download Daksil Indexle file.
Click here to download the NodeJS program.
Extract the indexle file to the desktop and download and install NodeJS.
Installation and Settings
Change the name of the JSON file you downloaded from Google Cloud to “service_account” and move it into the indexle file you extracted to the desktop. Add your unindexed links to the url.txt file inside the indexle folder. Add a total of 200 links, the links must be in full form as https://.
Command Line Operations
Open “Powershell” on your computer and access the indexle folder.
You can use the cd command to do this. For example: cd “C:\Users\xxx\Desktop\indexle”, you need to go into your indexle file on the desktop via powershell.
After accessing the file, you need to run the codes below in order. These related codes are also included in the indexle folder you downloaded.
npm install requests
npm audit fix
npm audit fix –force
node index.js
After running the last node index.js command, the links you added should be listed as 200 OK. When errors such as 400, 402, 404 occur, please read the article again from beginning to end and pay attention to the application.
Notes
Under normal conditions, it is necessary to report 200 links per day. To report more than 200 links, add a new Service Account to your project from the Google Cloud Console section and download a different JSON file and be sure to add your second Service Account mail in the Google Search Console section. In this way, you can report up to 800 links per day.


